
Custom-components
/
Overview
Reflex users create many components of their own: ready to use high level components, or nicely wrapped React components. With Custom Components, the community can easily share these components now.
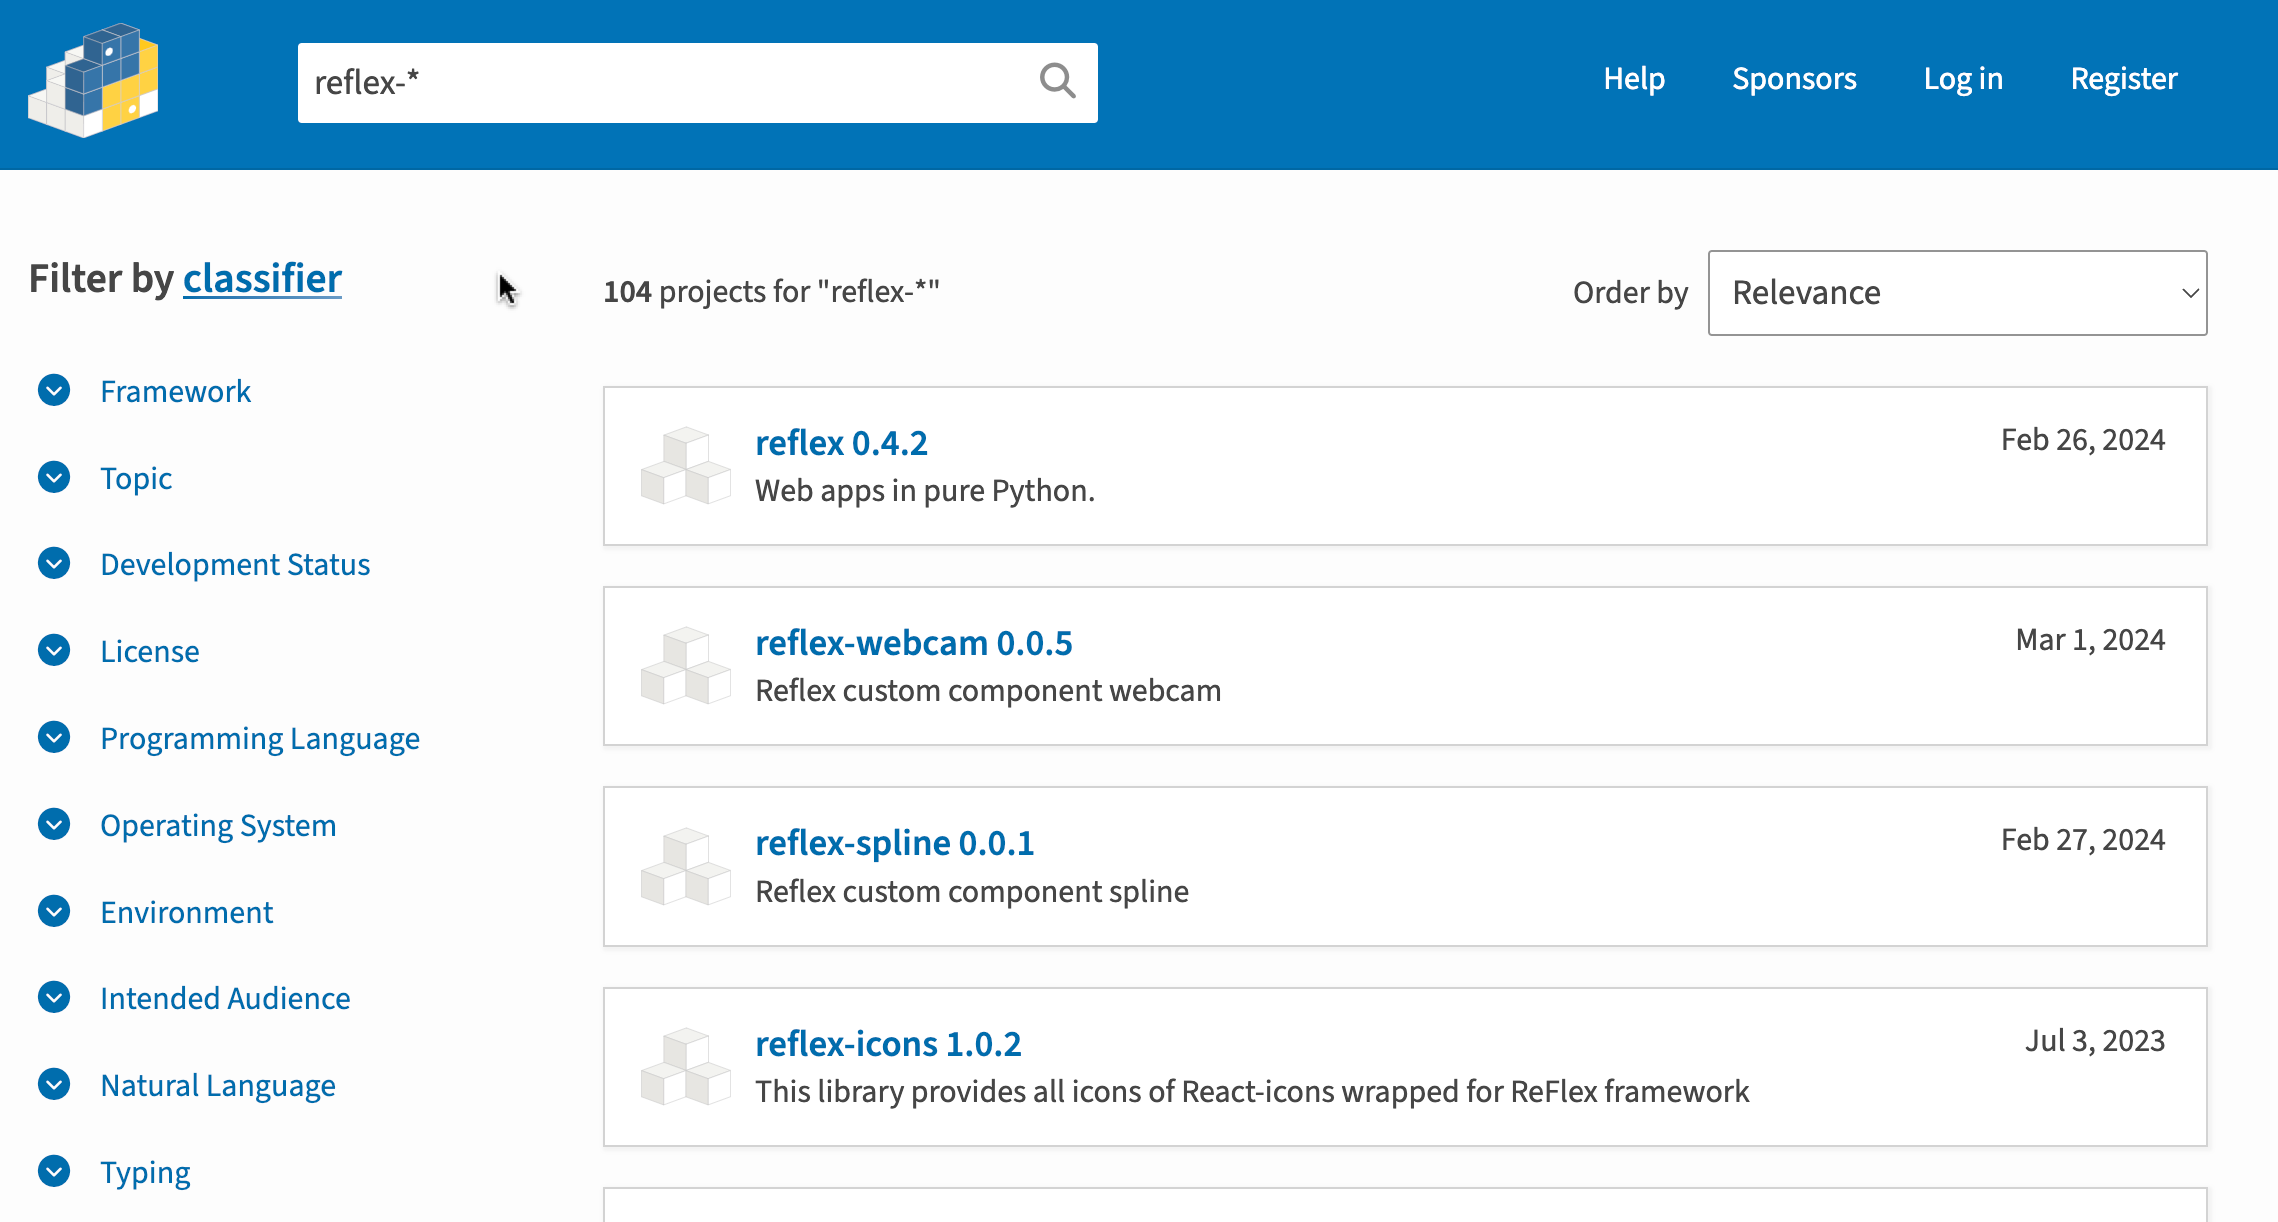
Release 0.4.3 introduces a series of reflex component commands that help developers wrap react components, test, and publish them as python packages. As shown in the image below, there are already a few custom components published on PyPI, such as reflex-spline, reflex-webcam.
In order to publish a Python package, an account is required with a python package index, for example, PyPI. The documentation to create accounts and generate API tokens can be found on their websites. For a quick reference, check out our Prerequisites for Publishing page.
Follow these steps to publish the custom component as a python package:
-
reflex component init: creates a new custom component project from templates. - dev and test: developer implements and tests the custom component.
-
reflex component publish: builds and uploads the package to a python package index.
reflex component init
First create a new folder for your custom component project, for example color_picker. The package name will be reflex-color-picker. The prefix reflex- is intentionally added for all custom components for easy search on PyPI. If you prefer a particular name for the package, you can either change it manually in the pyproject.toml file or add the --library-name option in the reflex component init command initially.
Run reflex component init, and a set of files and folders will be created in the color_picker folder. The pyproject.toml file is the configuration file for the project. The custom_components folder is where the custom component implementation is. The color_picker_demo folder is a demo Reflex app that uses the custom component. If this is the first time of creating python packages, it is encouraged to browse through all the files (there are not that many) to understand the structure of the project.
color_picker/
├── pyproject.toml            <- Configuration file
├── README.md
├── .gitignore                <- Exclude dist/ and metadata folders
├── custom_components/
│   └── reflex_color_picker/  <- Custom component source directory
│       ├── color_picker.py
│       └── __init__.py
└── color_picker_demo/        <- Demo Reflex app directory
    └── assets/
        color_picker_demo/
        requirements.txt
        rxconfig.py
After finishing the custom component implementation, the user is encouraged to fully test it before publishing. The generated Reflex demo app color_picker_demo is a good place to start. It is a regular Reflex app prefilled with imports and usage of this component. During the init, the custom_component folder is installed locally in editable mode, so a developer can incrementally develop and test with ease. The changes in component implementation are automatically reflected in the demo app.
reflex component publish
Once ready to publish, execute reflex component publish with the credentials in the command options (either --username and --password together or --token). First the command builds the distribution files if they are not already built. The end result is a dist folder containing the distribution files. The user does not need to do anything manually with these distribution files. The the command proceeds to publish those files. The same version of the package can only be published once. If already exists, the publish ends in error. The user can go to the pyproject.toml file and update the version number as desired. After the publish command finishes successfully, the package is uploaded to PyPI. 🎉
Did you find this useful?


